

Description
Included in DIY Kit (Basic): You’ll need to source the parts yourself. We’ll provide the parts which are not readily available. Ideal if you already have a GBS-C setup and wish to upgrade to a GBS-C AIO and don’t mind 3D printing a case/plates along with sourcing the remaining parts yourself.
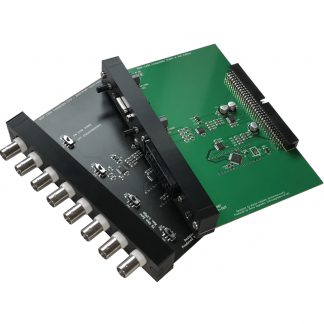
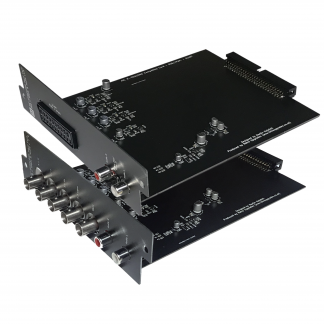
- GBS-C AIO Addon Board (with all necessary components assembled).
- NOT INCLUDED: Top & Bottom ‘PCB style’ plates, ribbon cables/wire, capacitors & resistors for modifications, top & bottom plate bumpers, standoffs & screws, 5V, 1A PSU, WiFi module (WeMoS D1 Mini), clock gen module (SI5351A), VGA to HDMI adapter & GBS8200 board. You will need to source these separately.
Included in DIY kit (Standard) (Most Popular): We’ll source most of the parts for you.
- GBS-C AIO Addon Board (with all necessary components assembled).
- Top & Bottom ‘PCB style’ plates with all of the required bumpers, screws & hex standoffs.
- All required ribbon cables.
- All capacitors & resistors for the necessary GBS8200 hardware modifications (as per “recommended additions and modifications” section of the GBS-C AIO github).
- NOT INCLUDED: 5V, 1A PSU, WiFi module (WeMoS D1 Mini), clock gen module (SI5351A), VGA to HDMI adapter & GBS8200 board. You will need to source these separately and we’re happy to send you links for where to find them – just send us an email.
Included in DIY Kit (Complete): We’ll source everything for you – includes everything you’ll need to build your own GBS-C AIO, minus the PSU.
- Includes everything from the standard kit plus the WiFi module, Clock gen module, VGA to HDMI adapter and a GBS8200 board. You’ll only need to get a 5V, 1A PSU for your region.
- NOT INCLUDED: 5V, 1A PSU. You will need to source the PSU separately. Recommendations are below in “links” section.
Shipping note: The SCART connector on the GBS-C AIO addon board will be included but not assembled. This is to allow the kits to fit in a smaller box which allows us to reduce the shipping cost, and save you approximately £10 per shipment.
Please note: By purchasing this kit, please understand that it is DIY & for advanced installers only. Whilst we’re happy to offer support with any install questions, we cannot offer one-to-one guidance through the install process! Please see instructions on the GBS-C github by clicking here and here.
Full list of features:
- Very low lag, less than 1 frame.
- High quality upscaling for nearly all retro game systems and computers – anything pre 2000s.
- Fast resolution switching between 240p and 480i video signals – output to the display never drops sync.
- Motion Adaptive deinterlacer that engages automatically and is superior to most BOB deinterlacing and BOB deinterlacing is available should you want it.
- Easy to navigate interface via web browser.
- Color reproduction with auto gain and auto offset for the triple 8 bit @ 160MHz ADC.
- Zero Lag bypass capability for transcoding video.
- Simplified power management compared to other DIY GBS-C set ups.
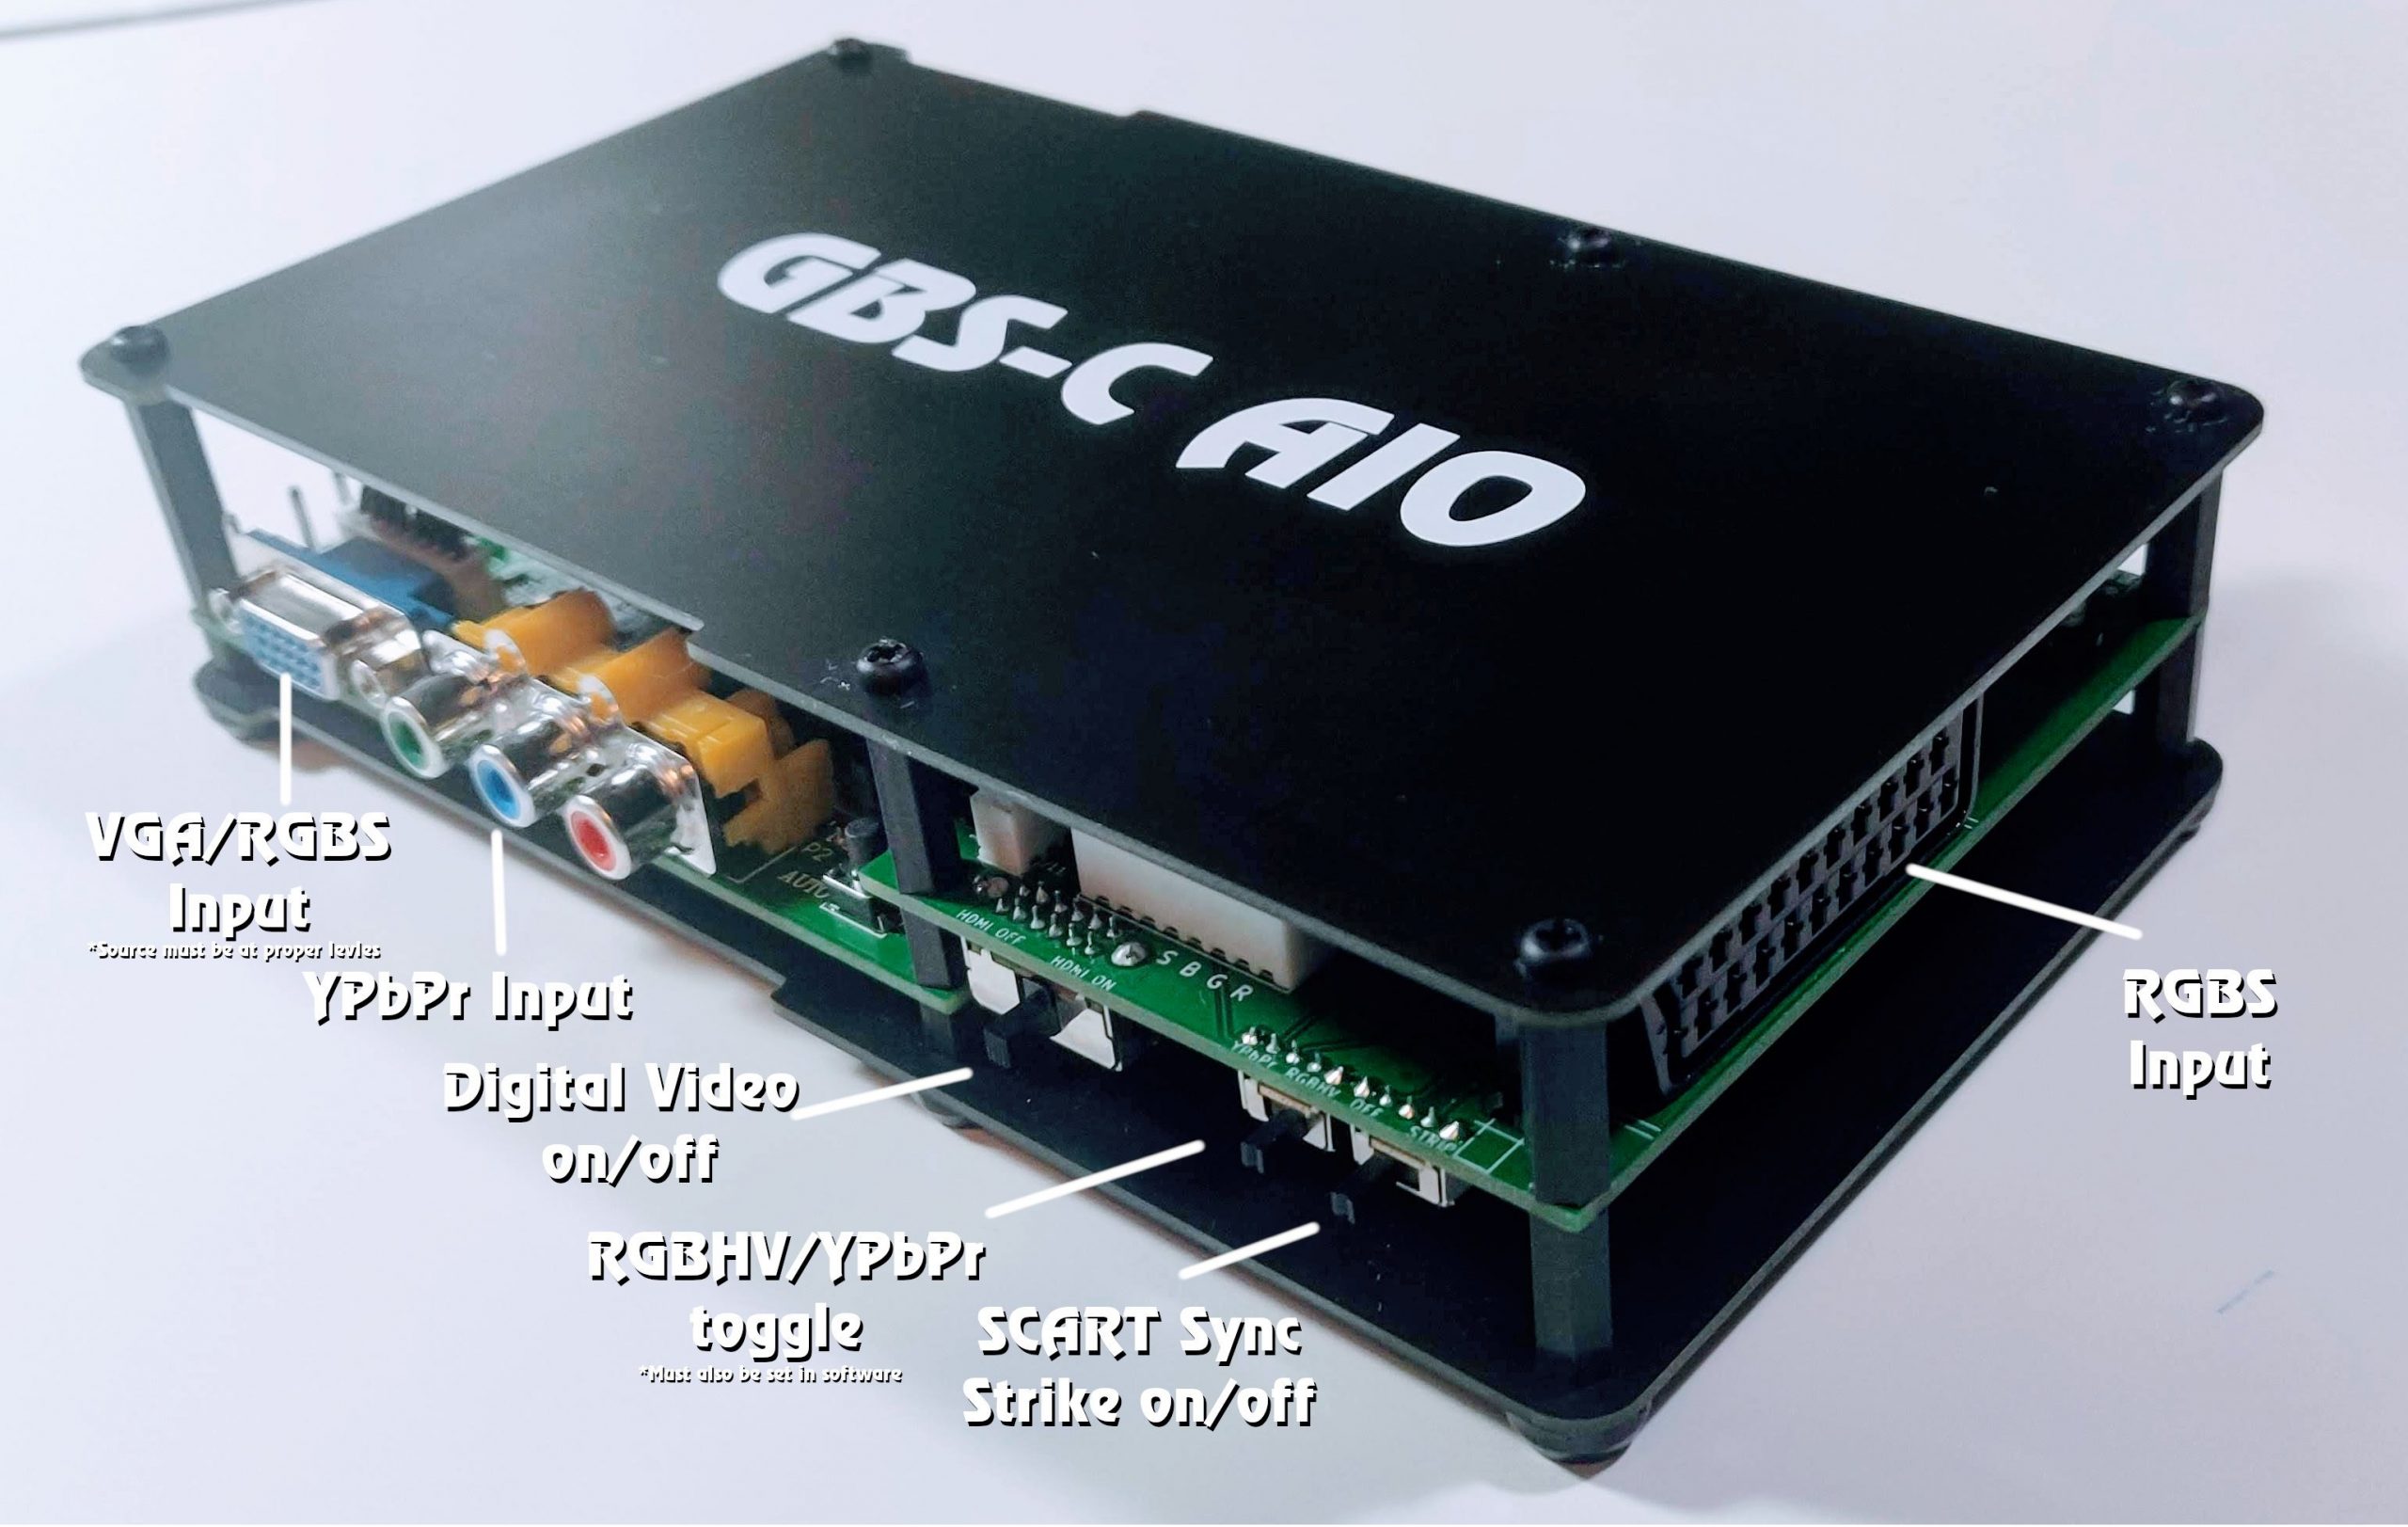
- PCB style enclosure.
- Inputs: SCART(RGBS), Component (YPbPr), VGA(RGBHV).
- Outputs: VGA/YPbPr 1280×960, 1280×1024, 1280×720,1920×1080, 720×480/768×576 and Source Pass-through.HDMI 720P/1080P. only one VGA or HDMI output at a time on the GBS8200.
- Fast downscaling at 240P via VGA/YPbPr.
- Built in Sync Strike that can be turned on and off.
5V, 1A, Center positive PSU – You can use any generic PSU with these specs or use one of the recommended PSU’s below.
Many thanks to everyone involved in this project: Ramapcsx2, Amoore2600, Zerohimself, Tinkerplunk, RetroRGB & MyLifeInGaming.
Links:
https://github.com/amoore2600/GBS-C_AIO
This project uses the GBScontrol firmware by Rama: https://github.com/ramapcsx2/gbs-control
Support the GBScontrol project and Buy Rama a coffee: https://www.buymeacoffee.com/ramapcsx2
AIO board design by Jacob Proctor (Arithmaldor): https://twitter.com/Arithmaldor
GBS-C AIO user fourm: https://www.gbscaio.com/forum
GBS-C AIO Private Facebook Group: https://www.facebook.com/groups/gbscaio